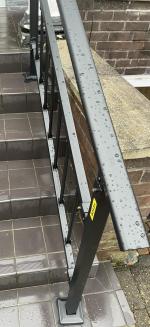
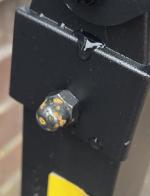
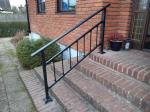
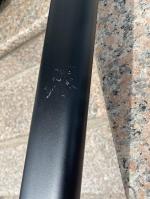
Would have given it 5 stars but there is some corrosion (rusting) starting in a couple of places after only a month of use outside. However, you could touch up the areas with Hammerite ‘direct to rust’ paint. Despite this it is good value for money and is, if you are handy with DIY, easy to install. The finished result looks very professional and neat and providing you get the anchor fixings right it is strong enough to resist someone falling into it. The supplied 12mm masonry drill bit is, like other reviewers have pointed out, an SMS item, so if you haven’t got an SMS drill you’ll need to buy a regular drill bit if you don’t already have one.
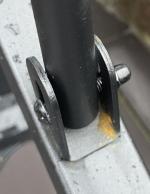
I mounted the rail on tiled concrete front door steps. I used a 6mm diamond tip Erbauer self cooling drill bit (c.£19 at Screwfix) to start the fixing holes off for the upright posts. Doing this at 6mm enables you to more accurately keep the centre line of the hole in the right place. You need to keep the position of the 4 holes for each upright post precise as there is very little clearance between the supplied anchor screws and the holes in the post’s baseplate. I then used a 6mm masonry drill to put a pilot hole into the underlying concrete. Then I carefully opened up the 6mm hole in the tile progressively using an 8mm then 10mm and finally 12mm drill bit. Take care doing this as it’s easy to crack the tile - let the drill bit do the work without putting too much pressure on the drill. Doing this with masonry bits as opposed to diamond tile drill bits saves money as the larger diameter tile bits are very expensive! Once the hole in the tile was at 12mm, I progressively used an 8mm, 10mm and finally the 12mm masonry bit to get the hole in the concrete to the right size whilst keeping the centreline accurately placed. The supplied metal steel inserts can then be tapped into the holes using a hammer. Sounds labour intensive and yes it does take a bit of time but patience is the key to a good strong job here, so persevere. All in all a good item in my opinion.

